Creating Your First Ceramic Tile
Ceramic tile making is one of the oldest crafts in human history, yet it remains as rewarding today as it was thousands of years ago. At its core, the process involves shaping clay into flat forms, allowing them to dry, and then firing them at high temperatures to create a durable, hard surface. Whether you're drawn to the tactile pleasure of working with clay or the satisfaction of creating something functional and beautiful, making your first ceramic tile is an achievable and deeply satisfying project.
Gathering your materials
Before you begin, you'll need a few key materials: air-dry or kiln-fired clay, a rolling pin or slab roller, a flat work surface, texture tools or stamps, and a palette knife for trimming. If you plan to glaze your tile, you'll also need ceramic glaze and access to a kiln. Many local community pottery studios offer kiln access for a small fee, making it easy to get started without investing in your own equipment. Once you have everything ready, you're set to begin.
Preparing and shaping your clay
Start by wedging your clay thoroughly — this removes air bubbles that could cause cracking during firing. Once wedged, roll the clay into an even slab, roughly 6–10mm thick. Consistency in thickness is important, as uneven sections can warp or crack as the tile dries. Use a ruler and palette knife to cut your desired shape, whether that's a classic square, a hexagon, or something entirely your own. Press the edges gently to smooth any rough cuts.
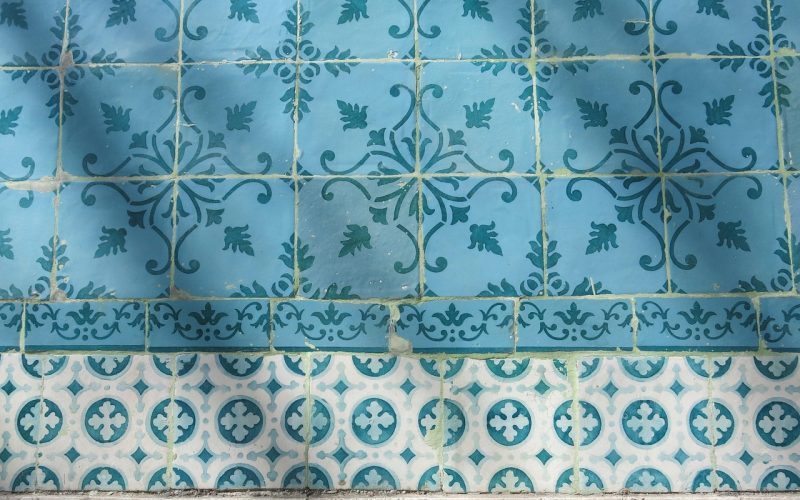
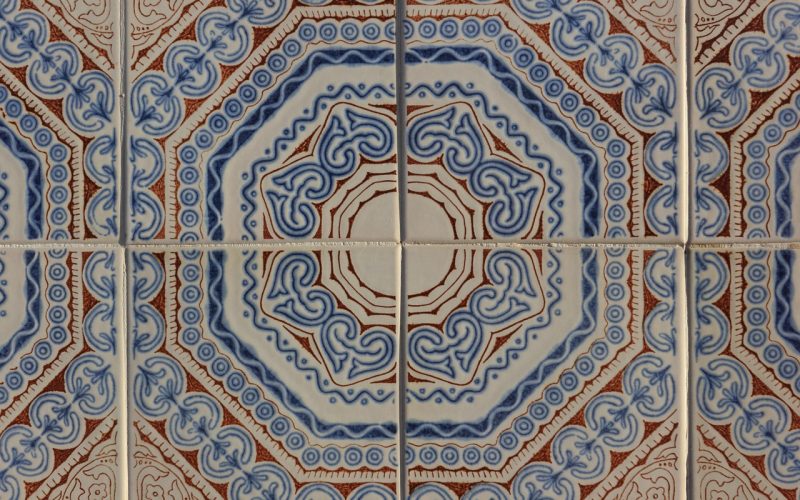
Adding texture and design
This is where your tile truly comes to life. Press stamps, lace, leaves, or hand-carving tools into the surface of the clay to create patterns and texture. You can also use a slip — a liquid mixture of clay and water — to attach small decorative elements. Work fairly quickly, as clay begins to dry out and become less pliable over time. Once you're happy with your design, set the tile on a flat, non-porous surface and allow it to dry slowly and evenly. This can take anywhere from 24 to 72 hours depending on humidity levels.
Bisque firing your tile
Once fully dry, your tile is ready for its first firing, known as bisque firing. This stage hardens the clay and prepares it to accept glaze. Bisque firing typically takes place at around 1000°C and results in a porous, chalk-like surface. It's normal for tiles to feel fragile at this stage — handle them carefully. After firing, inspect your tile for any cracks. Minor surface cracks can sometimes be filled with glaze, but deeper structural cracks may mean starting again.
Glazing and final firing
Glazing adds colour, texture, and a protective coating to your tile. Apply glaze using a brush, sponge, or by dipping — each method produces a slightly different effect, so don't be afraid to experiment. Avoid applying glaze to the bottom of your tile, as it will fuse to the kiln shelf during firing. Once glazed, the tile undergoes a second, higher-temperature firing (typically between 1050°C and 1280°C depending on your clay and glaze). When the kiln cools and you remove your finished tile, you'll find a surface that's smooth, vibrant, and built to last.
Start creating
Your first ceramic tile won't be perfect — and that's entirely the point. Every wobble in the edges and variation in the glaze tells the story of something made by hand. The more tiles you make, the more your technique will develop and your personal style will emerge. Start simple, enjoy the process, and don't be discouraged by the occasional crack or glaze drip. With patience and practice, ceramic tile making can become a deeply fulfilling creative outlet that produces genuinely beautiful, functional art.