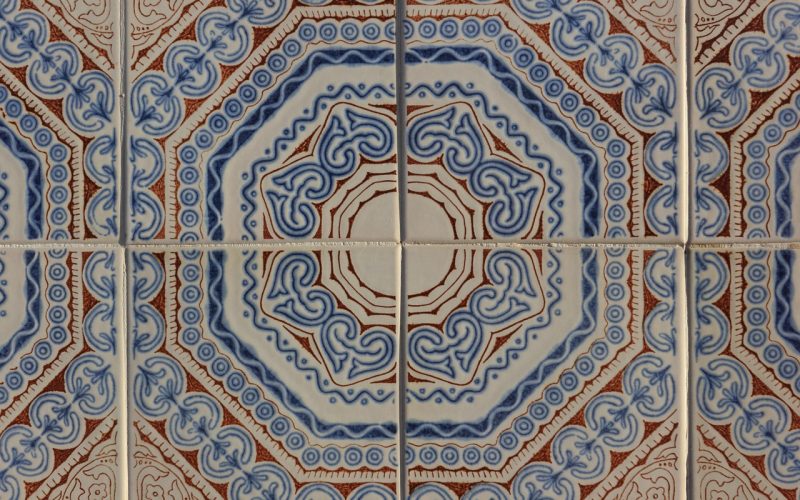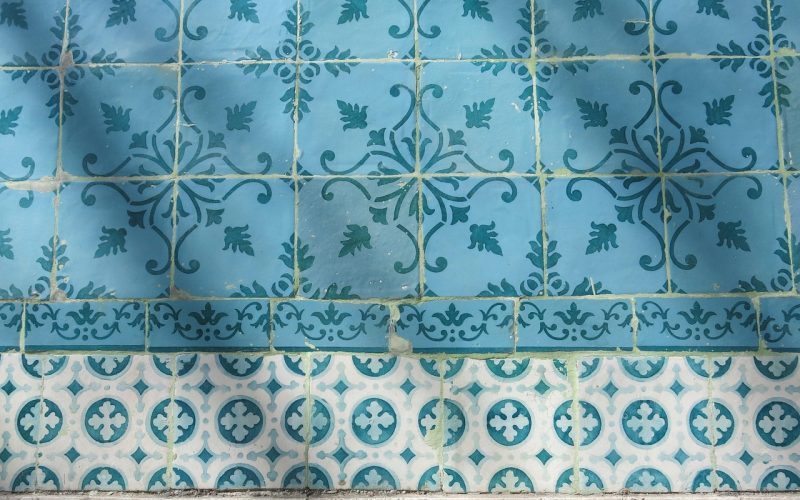
Creating Your First Ceramic Tile
Ceramic tiles can be used to create flooring for your home, a wall for your food prepping station or even just a small decorative piece for your garden. Before you create your tile, you should first figure out the area in which you would like the tiles to be placed. After you have figured out the placing, you can start brain storming which colors will go with your home decor or garden area. Below you will find a step by step guide for the tile creating process.
Step 1 - Start by working your clay when it is fairly dry and than start rolling the clay with a slab roller onto a hard surface that the clay can easily be removed from. While you are rolling the clay, be sure that it is at least ½ inch thick.
Step 2 - Use a press to cut out your tile shape. (Be sure that your frame is the exact dimensions of what you want your tile to be). A press can easily be made with small pieces of wood or metal.
Step 3 - Pound the clay into the frames and cut any excess clay that may be hanging over the edges.
Step 4 - Allow to clay to dry very slightly or use a type of lubricant to spray on the frame to avoid the clay from sticking.
Step 5 - Push the clay out of the frame using a solid item the same size as the clay.
Step 6 - Let the clay dry between two pieces of sheet rock or plywood.
Step 7 - Fire your tiles! If you have never fired clay before, be sure to read through the entire handbook and all of the safety precautions that you will need to take. This will help decrease the chances of you getting burnt or of your tiles getting ruined.
Kathy Cano-Murillo loves making and painting ceramic-ware. In this video she shows you how to fire ceramic tiles: